You can create and manage custom sensitive information types to detect a variety of data across your organization. In this section, we’ll look at creating these classifiers.
Using keywords
The simplest configuration for sensitive information types involves using keywords. Keywords are exactly that—simply words that are used to identify content as sensitive. When using keywords to compose a sensitive information type, you have two options:
• Keyword lists
• Keyword dictionaries
Both of these are functionally the same—the only real difference is in the number of words represented.
You can create sensitive information types based on keyword dictionaries and lists through the Microsoft Purview compliance portal by following these steps:
- Navigate to the Microsoft Purview compliance portal (https://compliance.microsoft. com), expand Data classification, select Classifiers, and then select Sensitive info types, as shown in Figure 10.1.
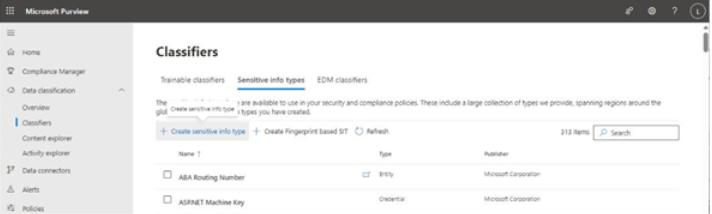
Figure 10.1 – Classifiers page with Sensitive info types tab selected
- Click Create sensitive info type.
- On the Name your sensitive info type page, enter values for the Name and Description fields. Click Next.
- On the Patterns page, select either Create pattern or Create one now.
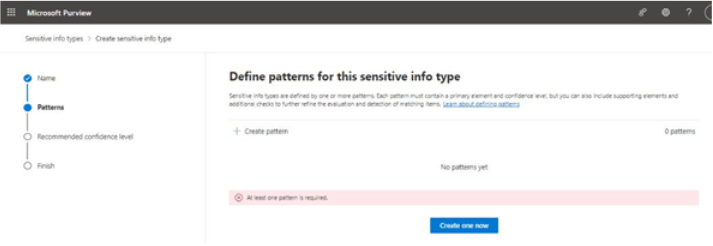
Figure 10.2 – Define a pattern
- On the New pattern flyout, set Confidence level, choosing from either High confidence, Medium confidence, or Low confidence.
- Under Primary element, click Add primary element and select either Keyword list or Keyword dictionary.
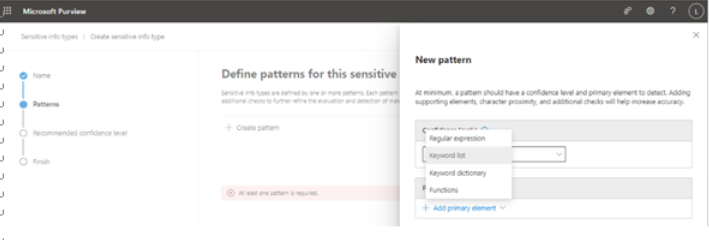
Figure 10.3 – Primary element selection
- Configure the list or dictionary.
If configuring a keyword list, follow these steps:
- Enter an element ID (name).
- In the Keyword group #1 area, enter a list of keywords separated by a new line character (with the Return key). You can enter up to 50 keywords in a group and specify them as either case-sensitive or case-insensitive by placing them in the respective area, as depicted in Figure 10.4:
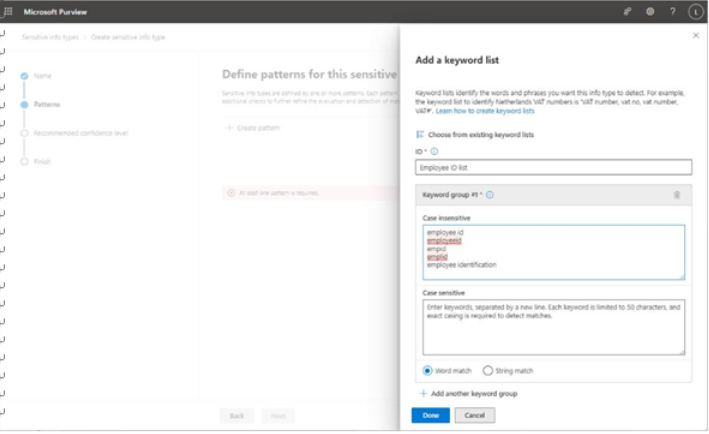
Figure 10.4 – Creating a keyword list
- Select either Word match (recommended) or String match as the match type. Word match matches whole words only (slid will match slid but not slide, slides, or sliding), while String match will match substrings inside of larger words or strings (for example, slid will match slid, slide, slides, and sliding).
- Click Add another keyword group to configure another set of keywords to be added to this keyword list.
- Click Done when finished.
If configuring a keyword dictionary, follow these steps:
- Enter a Name value for the keyword dictionary.
- In the Keywords area, enter the keywords that will appear in the dictionary. Alternately, select Upload a dictionary and browse to a TXT or CSV file containing a large list of terms, as shown in Figure 10.5:
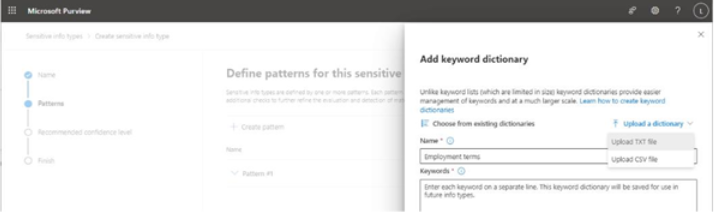
Figure 10.5 – Creating a keyword dictionary
- Click Done.
- If secondary or supporting elements will be used, set the Character proximity value to be used to evaluate whether the primary and supporting elements are close enough to each other to count as a match. Proximity is a mathematical distance calculation. For example, with a character proximity of 40, the employee keyword would match the id supporting element in the phrase The employee entered her company-issued id number in the form. However, with a character proximity of 10, there would be no match.
- If supporting elements will be used to define this sensitive information type, click Add supporting elements or group of elements, and then select the appropriate types of objects. You can add individual elements (such as more keyword lists, keyword dictionaries, regular expressions, or functions) as well as groups that contain multiple element types and configurations.
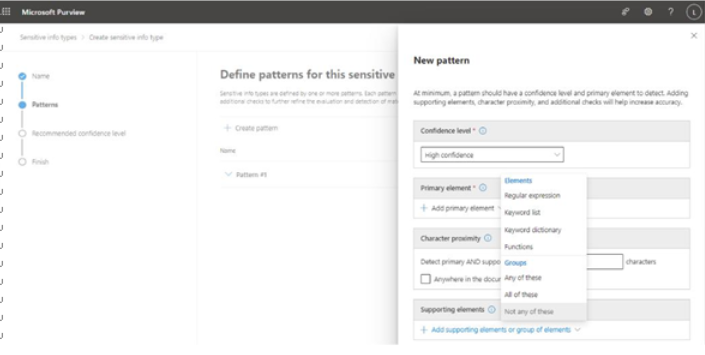
Figure 10.6 – Adding supporting elements
Supporting Element Deep-dive
Supporting elements can be simple (as in just additional keywords, keyword dictionaries, or built-in functions) or complex regex queries that can also have an additional concept of validators applied to them. Validators are special functions that perform calculations (such as the Luhn check for credit cards) that aren’t necessarily easily expressed with text strings or pattern matches. All supporting elements support proximity as well.
- Use Additional checks to make any required customizations to the rules. Customizations might include requiring or excluding certain patterns, requiring or excluding duplicate characters or items, or requiring or excluding particular suffixes.
- Select Create.
- Click Create pattern to add another pattern for this sensitive information type, repeating steps 4 through 11. When finished, click Next.
- On the Recommended confidence level page, select a confidence level and click Next.
- On the Finish page, verify that everything meets your requirements and click Create.
You can now use the sensitive information type throughout the M365 Purview solution.