Co-authoring (the ability for multiple people to work on a file or document simultaneously) is a powerful feature of the M365 platform. When it comes to encrypted documents, it’s important to confirm that the environment meets a particular standard to ensure full compatibility and functionality when editing encrypted documents.
After you have confirmed that all users have the latest M365 apps and that all custom software is using the correct software development kits (SDKs) and syntax, you can follow these steps to enable co-authoring on encrypted documents:
- Navigate to the Microsoft Purview compliance portal (https://compliance.microsoft. com) and select Settings.
- Select Co-authoring for files with sensitivity labels, as shown in Figure 10.31:
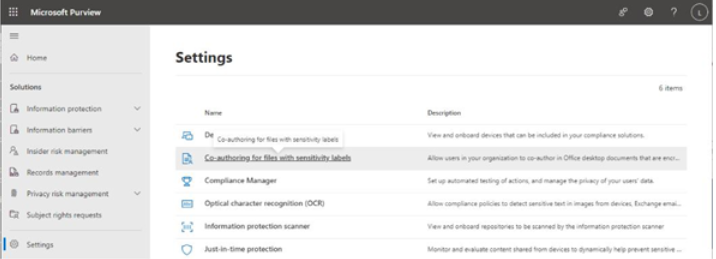
Figure 10.31 – Selecting the Co-authoring for files with sensitivity labels setting
- Read the information on the page and ensure you fully understand the ramifications of enabling co-authoring. When finished, select the Turn on co-authoring for files with sensitivity labels checkbox and click Apply. See Figure 10.32:
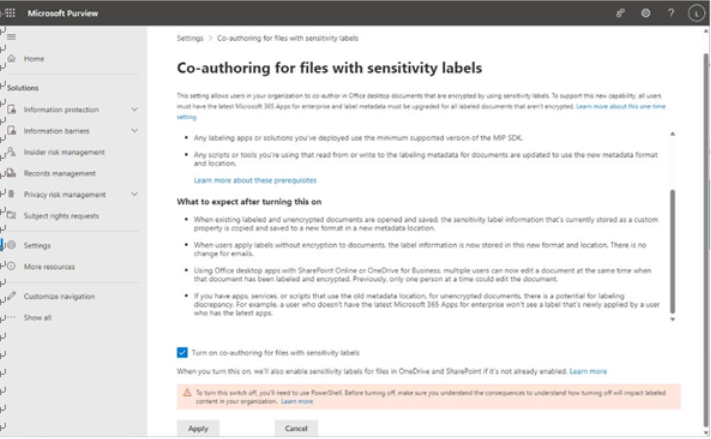
Figure 10.32 – Confirming co-authoring settings
After 24 hours, the feature should be available to use across your tenant.
It’s important to note that if you want to roll back co-authoring changes, you cannot do it from the M365 portal. You must do it from PowerShell. There are a number of changes that will be reverted, which may result in the loss of labeling information.
Further Reading
For more information on the potential consequences and limitations of turning off co-authoring after it’s been enabled, see https://learn.microsoft.com/en-us/purview/ sensitivity-labels-coauthoring#if-you-need-to-disable-this-feature.
Creating a label
Configuring a label is a relatively straightforward process. To create a new label, follow these steps:
- Navigate to the Microsoft Purview compliance portal (https://compliance.microsoft. com), expand Information protection, and select Labels.
- Select Create a label, as shown in Figure 10.33:
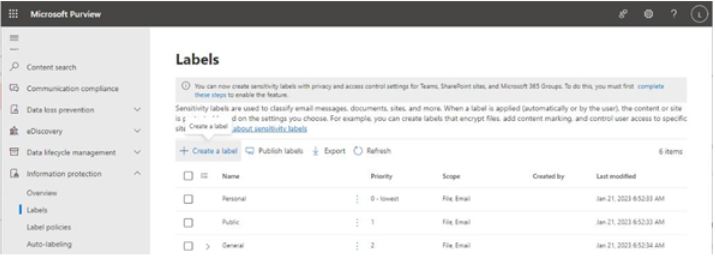
Figure 10.33 – Selecting Create a label from the Labels home page
- On the Name and tooltip page, enter values for Name (the value that will be displayed to administrators in the Microsoft Purview compliance portal),Display name (the value that will be displayed to users who will be interacting with the label), Description for users (the value that will be displayed as a tooltip over content where the label has been applied), and Description for admins. See Figure 10.34:
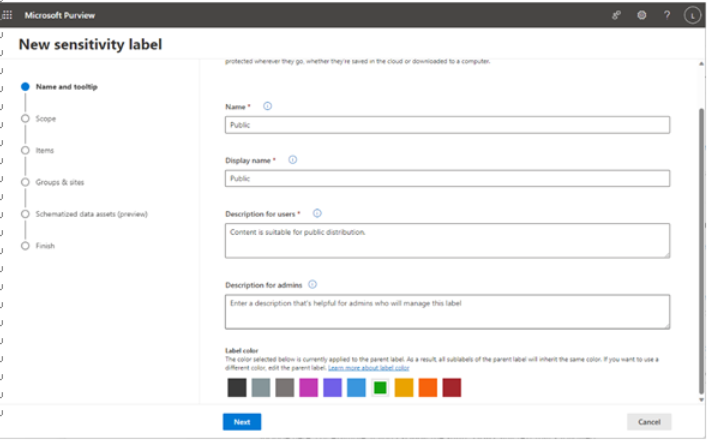
Figure 10.34 – Creating a new sensitivity label
- Click Next.
- On the Scope page, select the options that meet your organization’s business requirements for this label.
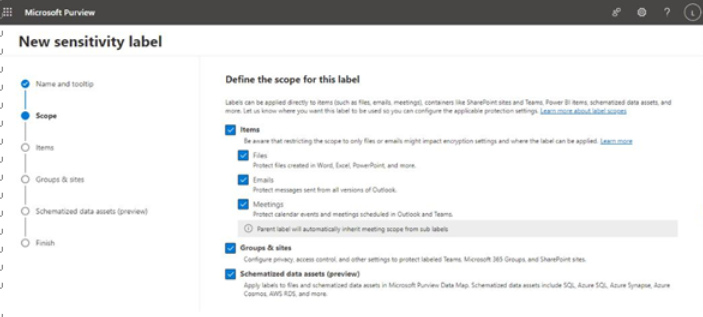
Figure 10.35 – Defining the scope of the label
In this case, the term scope determines where the label can be applied. There are settings for leaf objects (referred to as Items, which includes Files, Emails, and Meetings) as well as container objects (Groups & sites ). Schematized data assets is a preview feature that includes content visible in the Microsoft Purview Data Map such as Azure SQL, Cosmos DB, or RDS.
- Click Next.
- If you selected Items to be included, you will be presented with some protection settings: Apply or remove encryption, Apply content marking, or Protect Teams meetings and chats. Click Next.
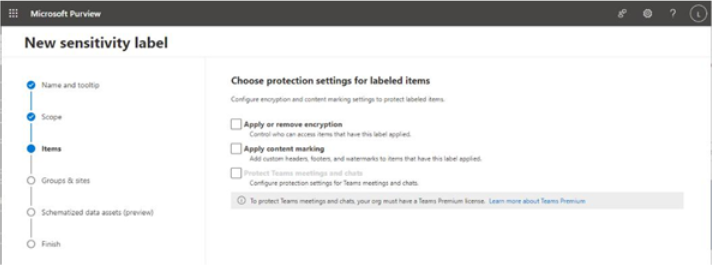
Figure 10.36 – Choosing protection settings